FiberWood Wall Cladding Trim Molding: Smart Finishing for a Flawless Look
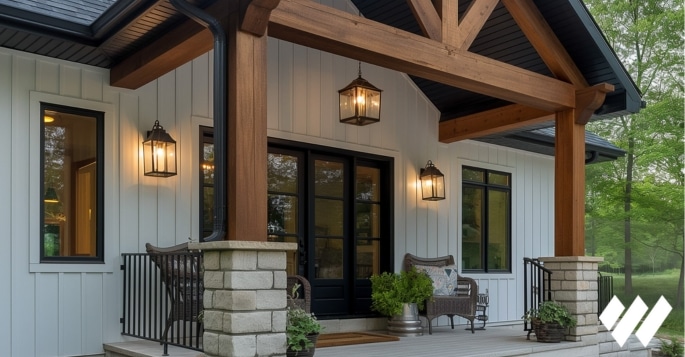
FiberWood Wall Cladding Trim Molding: Smart Finishing for a Flawless Look
Seamless Color Matching with Any Cladding
To match all our FiberWood Wood Composite Cladding collections, the finishing trim comes in 9 distinctive colors:
- Black
- Grey Rock
- Natural Wood
- Pure White
- Teak
- Pearl Grey
- Vintage Brown
- Walnut
- White Oak
Whatever your exterior style, FiberWood offers a fully integrated finishing solution.
Innovative Two-Part Design
FiberWood’s exterior trim system features a smart two-piece structure:
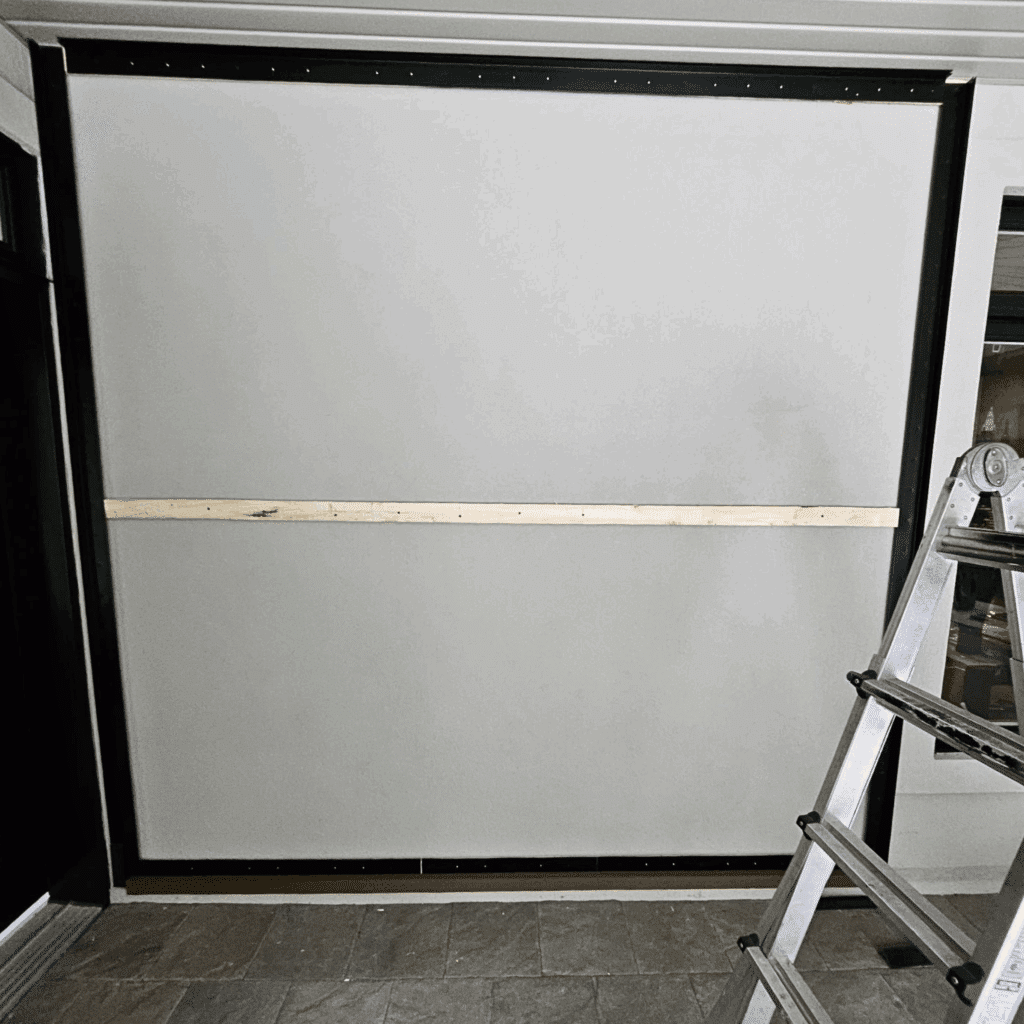
- A rear aluminum base, installed directly onto the wall before the cladding.
- A front wood composite trim, matching the cladding’s color, that clips securely into place for a clean, uniform, and discreet finish.
This modular concept brings both practical and visual benefits to any exterior project.
Key Benefits of FiberWood Finishing Trim
- Impeccable Finish: The front trim completely covers the cut edges of the cladding boards, creating a smooth and polished look across the entire surface.
- Cutting Tolerance: The front piece is designed to cover minor cutting imperfections. Even if the edges aren’t perfectly straight, the result remains professional and consistent.
- Easy Maintenance: In the event of damage, only the front trim needs to be replaced, no need to remove the cladding or disturb the structure.
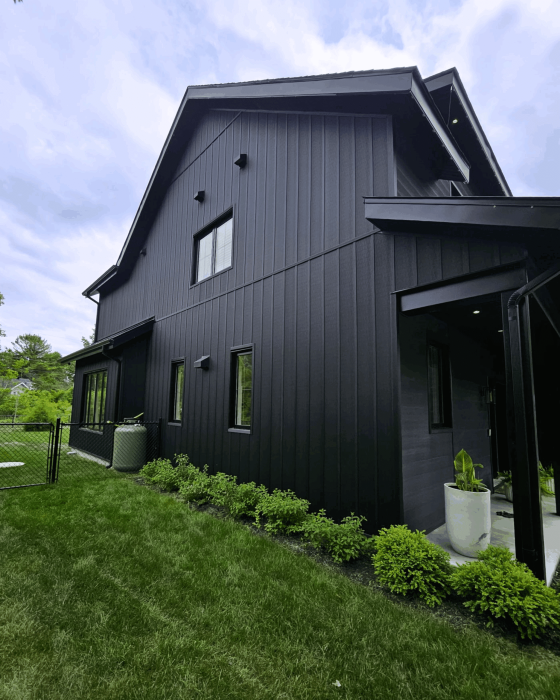
- Discreet Aesthetics: The perfect color match between the trim and wall cladding creates subtle transitions. The trim molding blends in instead of standing out, preserving the visual harmony of your facade.
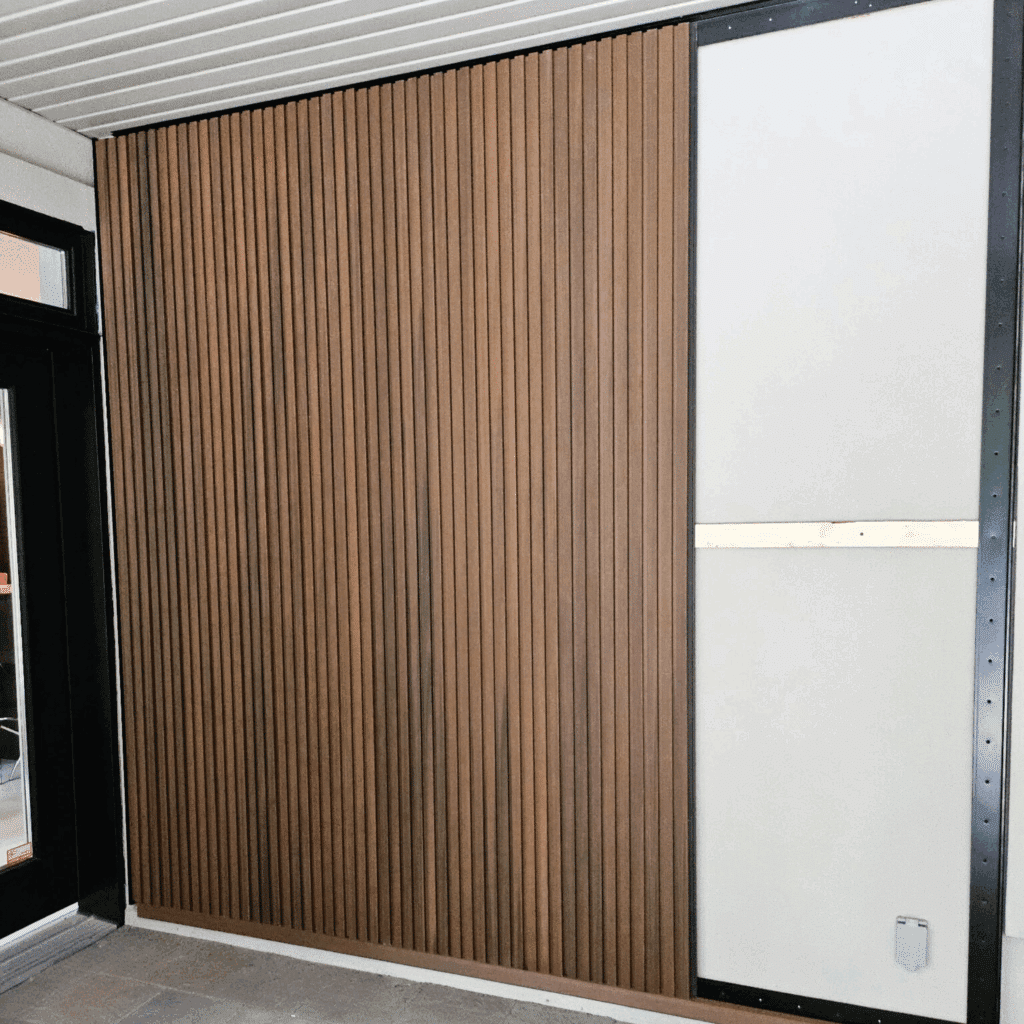
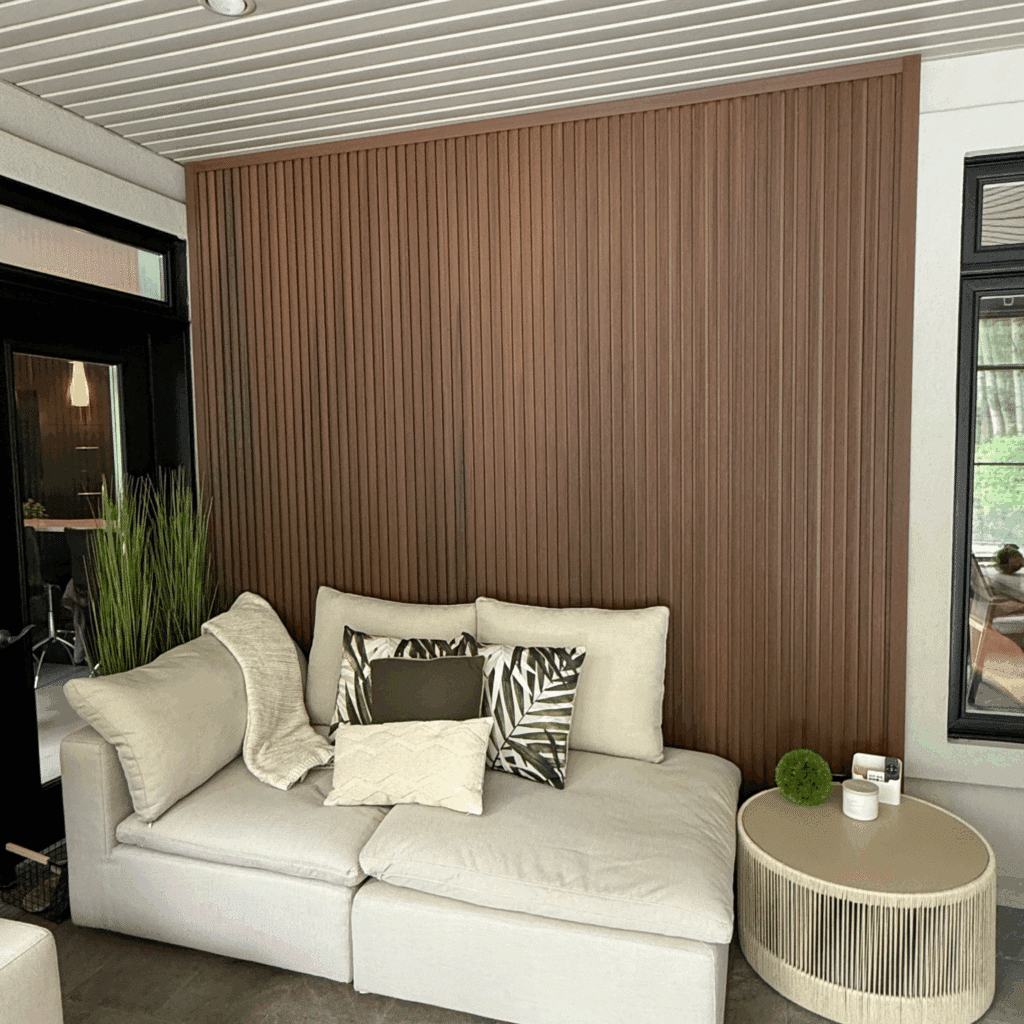
A Trim for Every Configuration
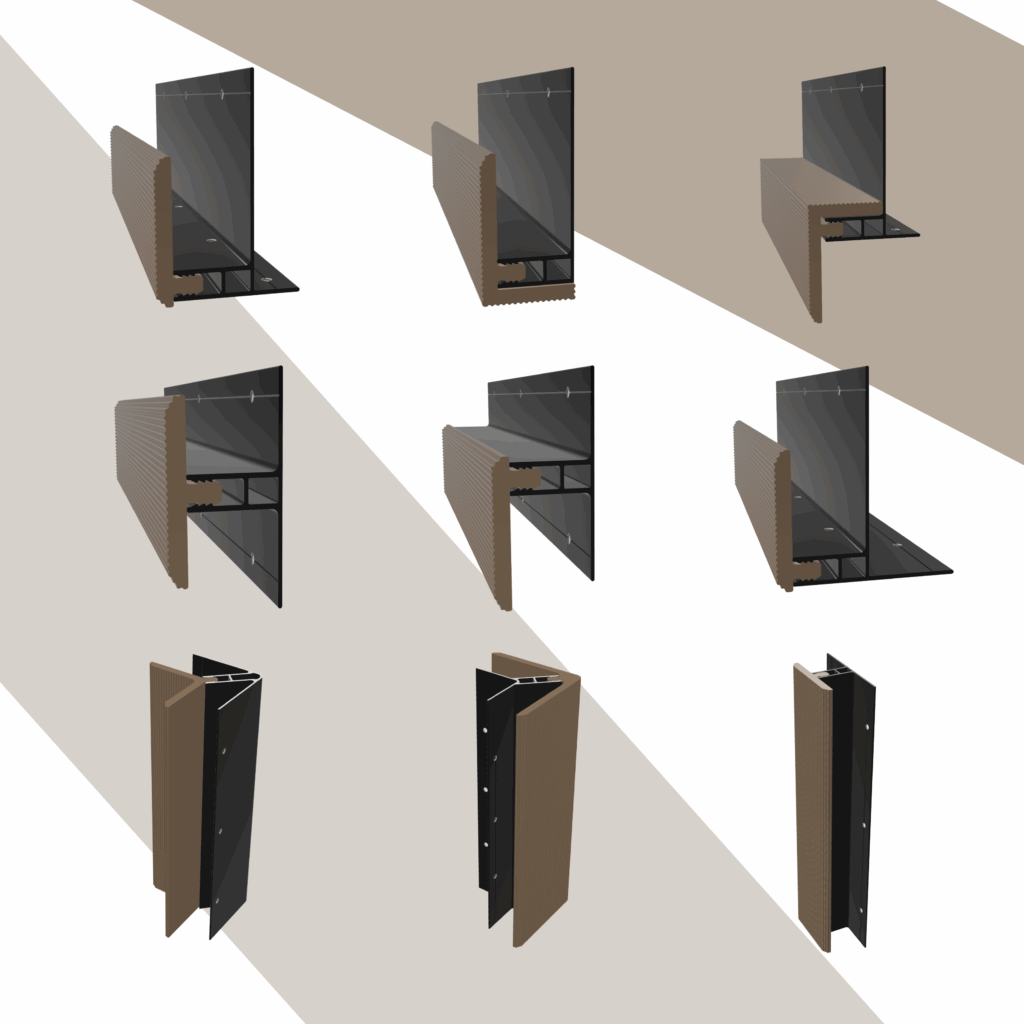
FiberWood offers six types of wall cladding trim molding to suit any wall configuration, whether indoors or outdoors:
-
J Starter Trim:
The rear base is installed on any flat surface. The front trim can be oriented upward or downward, depending on the cladding direction, or paired with the front of a starter trim.
-
Single Starter Trim:
Typically installed at the base of a new cladding row, above a rainscreen system with wood battens or a rainscreen underlayment. Features a rear lip to block pests while allowing airflow and water drainage.
-
Double Starter Trim:
Used mainly in dual rainscreen systems with double wood battens.
-
H Transition Trim:
Installed vertically, ideal for walls longer than the boards or when switching cladding color or style.
-
Interior and Exterior Corner Trims:
Designed for smooth transitions at 90° wall corners.
Pro Tips for Clean Installation
- Test your chalk lines to ensure easy cleanup. Some are designed to resist washing.
- Use protective tarps to cover the cladding during cutting, masonry, or cement work.
- Regularly wipe down exposed surfaces with soft cloth and warm water to prevent mineral dust buildup.
- If possible, install the finishing trim after masonry work to avoid hard-to-remove residue.
Need detailed instructions? Check out our Installation Guide.
FAQ – Wall Cladding Trim Molding
Yes. Each trim includes an aluminum base and a front composite or matte black aluminum piece.
Absolutely — that’s one of the core advantages of this system.
Yes. Both aluminum and wood composite are built for harsh Canadian weather.
Visit our authorized retailers.
Made from premium materials, they match the lifespan of our cladding — several decades.
- Secure the aluminum base
- Install the cladding
- Snap on the front trim
Yes — with basic tools, it’s a DIY-friendly process.


